
Introduction
In our previous blogs, we learned about Docker Tutorials for Beginners and Dockerfile Tutorials. In this blog, we will take a simple Python web application and containerize it using Docker.
This tutorial demonstrates how DevOps engineers package and ship applications in real-world environments. By the end of this guide, you will have a fully Dockerized Python web application that can run consistently on any machine without dependency issues.
Before starting, I strongly recommend reading our earlier blogs to understand the basics:
What You Will Learn
- How to write a Dockerfile
- How to build a Docker image
- How to push a Docker image to Docker Hub
- How to run a Python application using a Docker container
Project Overview
Task: Dockerize a simple Python web application using Flask.
What you will build:
- A Docker image for the Python Flask application
- A running container created from that Docker image
This project shows how DevOps engineers containerize real applications for production use.
Architecture of the Dockerized Python Application
User Browser
     |
     v
Docker Container (Flask App)
     |
     v
Docker Image (Python + App + Dependencies)
     |
     v
Host Machine (Docker Engine)
Prerequisites
Before starting this DevOps project for beginners, make sure you have:
- Docker installed on your system
- Basic knowledge of Docker commands and how to write a Dockerfile
- A Docker Hub account (sign up on the official Docker Hub website)


Step 1: Download the Python App Code
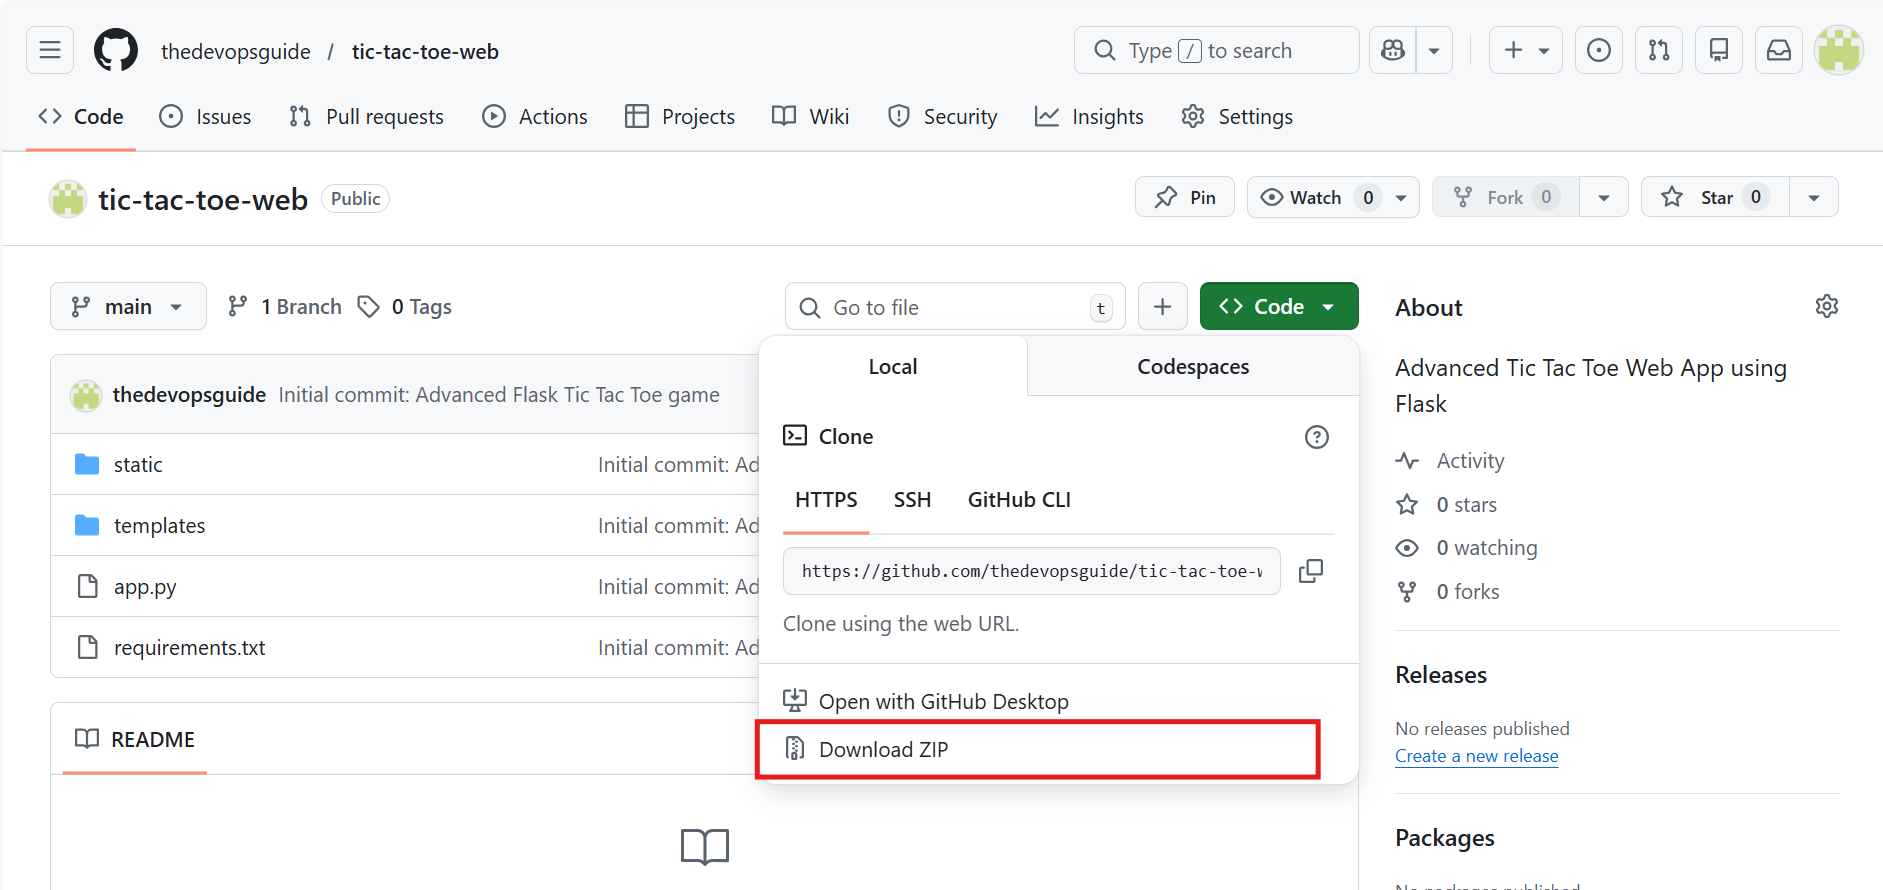
You can either download the code manually or clone it from GitHub.
Full source code:
https://github.com/thedevopsguide/tic-tac-toe-web
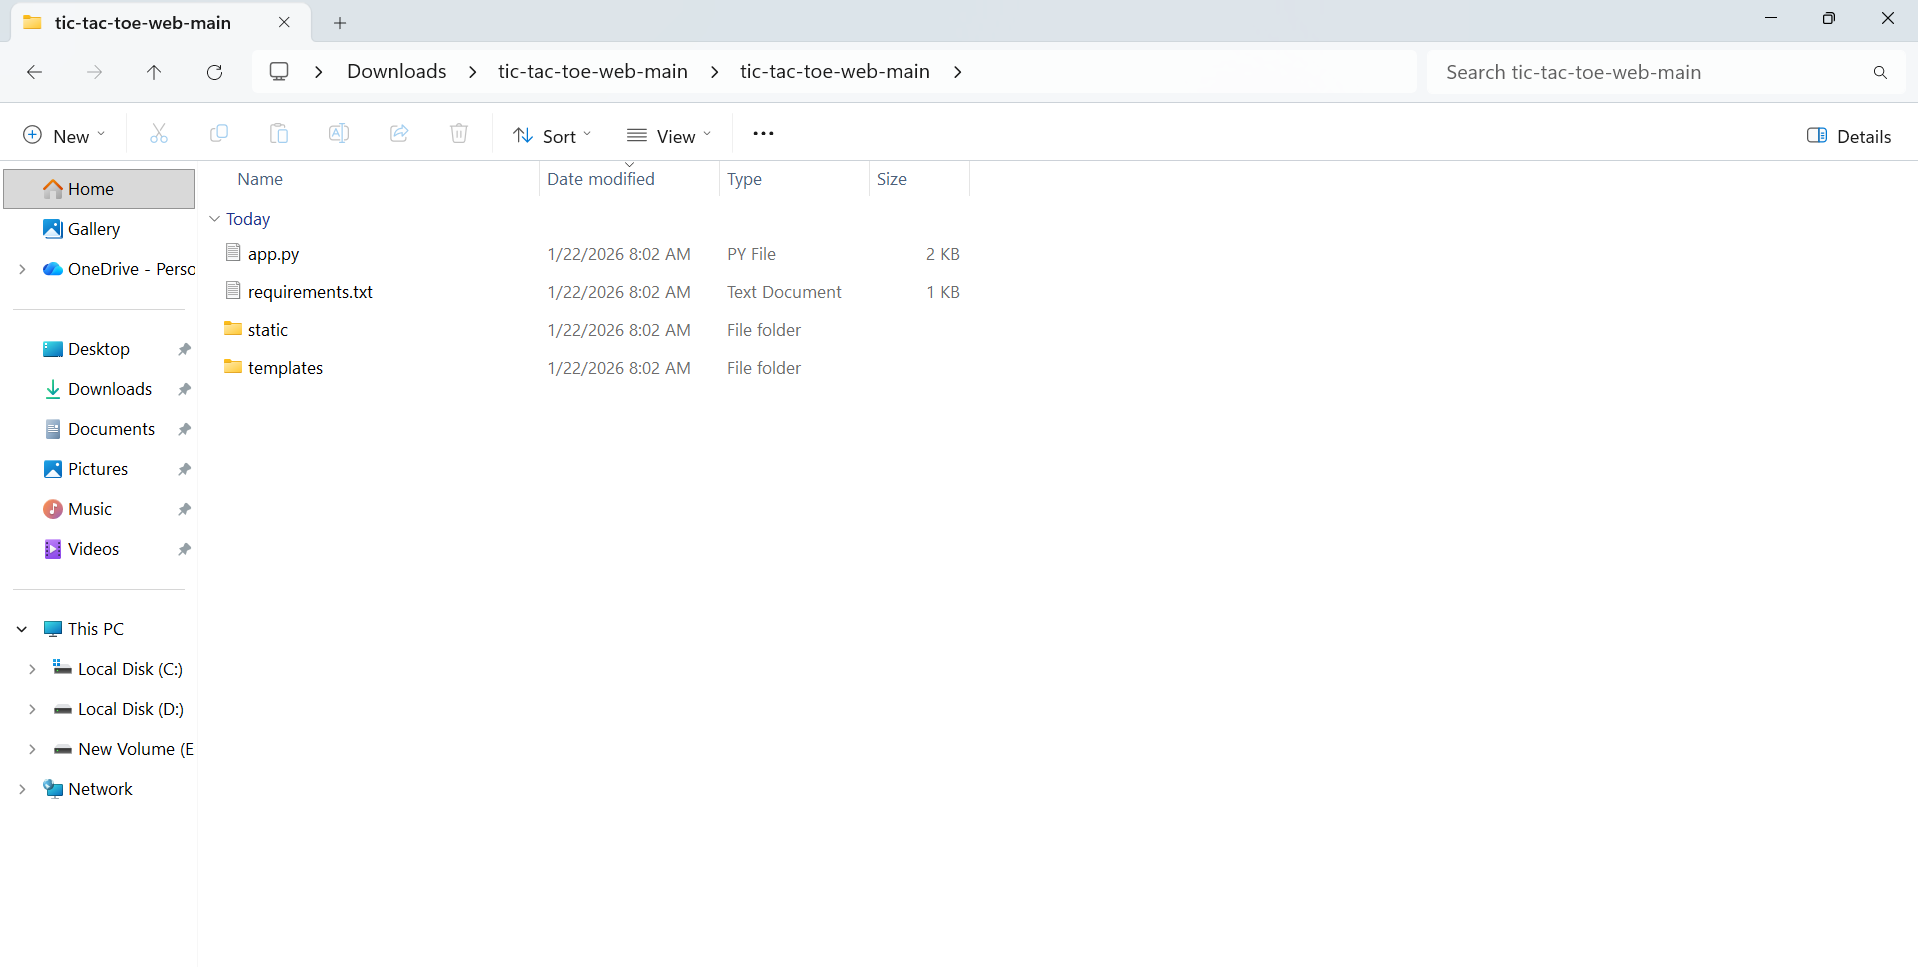
Step 2: Project Folder Structure
Your Python project structure should look like this:
tic-tac-toe-web/
├── app.py
├── requirements.txt
├── templates/
│   └── index.html
└── static/
    ├── style.css
    └── script.js
Step 3: Create a Dockerfile
Create a file named Dockerfile inside the project directory and add the following content:
FROM python:3.12-alpine

WORKDIR /app

COPY requirements.txt .

RUN pip install --no-cache-dir -r requirements.txt

COPY . .

EXPOSE 5000

CMD ["python", "app.py"]
Explanation of the Dockerfile
FROM python:3.12-alpine
This sets the base image. Since this is a Python application, we use an official Python image. The alpine version is lightweight, which keeps the final image size smaller and improves startup speed.
WORKDIR /app
This sets /app as the default working directory inside the container. All future commands will run from this directory.
COPY requirements.txt .
This copies only the requirements.txt file from your local machine into the container’s working directory.
RUN pip install –no-cache-dir -r requirements.txt
This installs all Python dependencies listed in requirements.txt. The --no-cache-dir flag removes cached files to reduce the final image size.
COPY . .
This copies the entire project (app.py, templates, static files, and other assets) into the container.
EXPOSE 5000
This documents that the application listens on port 5000. It does not publish the port by itself.
CMD [“python”, “app.py”]
This starts the Flask application when the container runs.
Step 4: Build the Docker Image
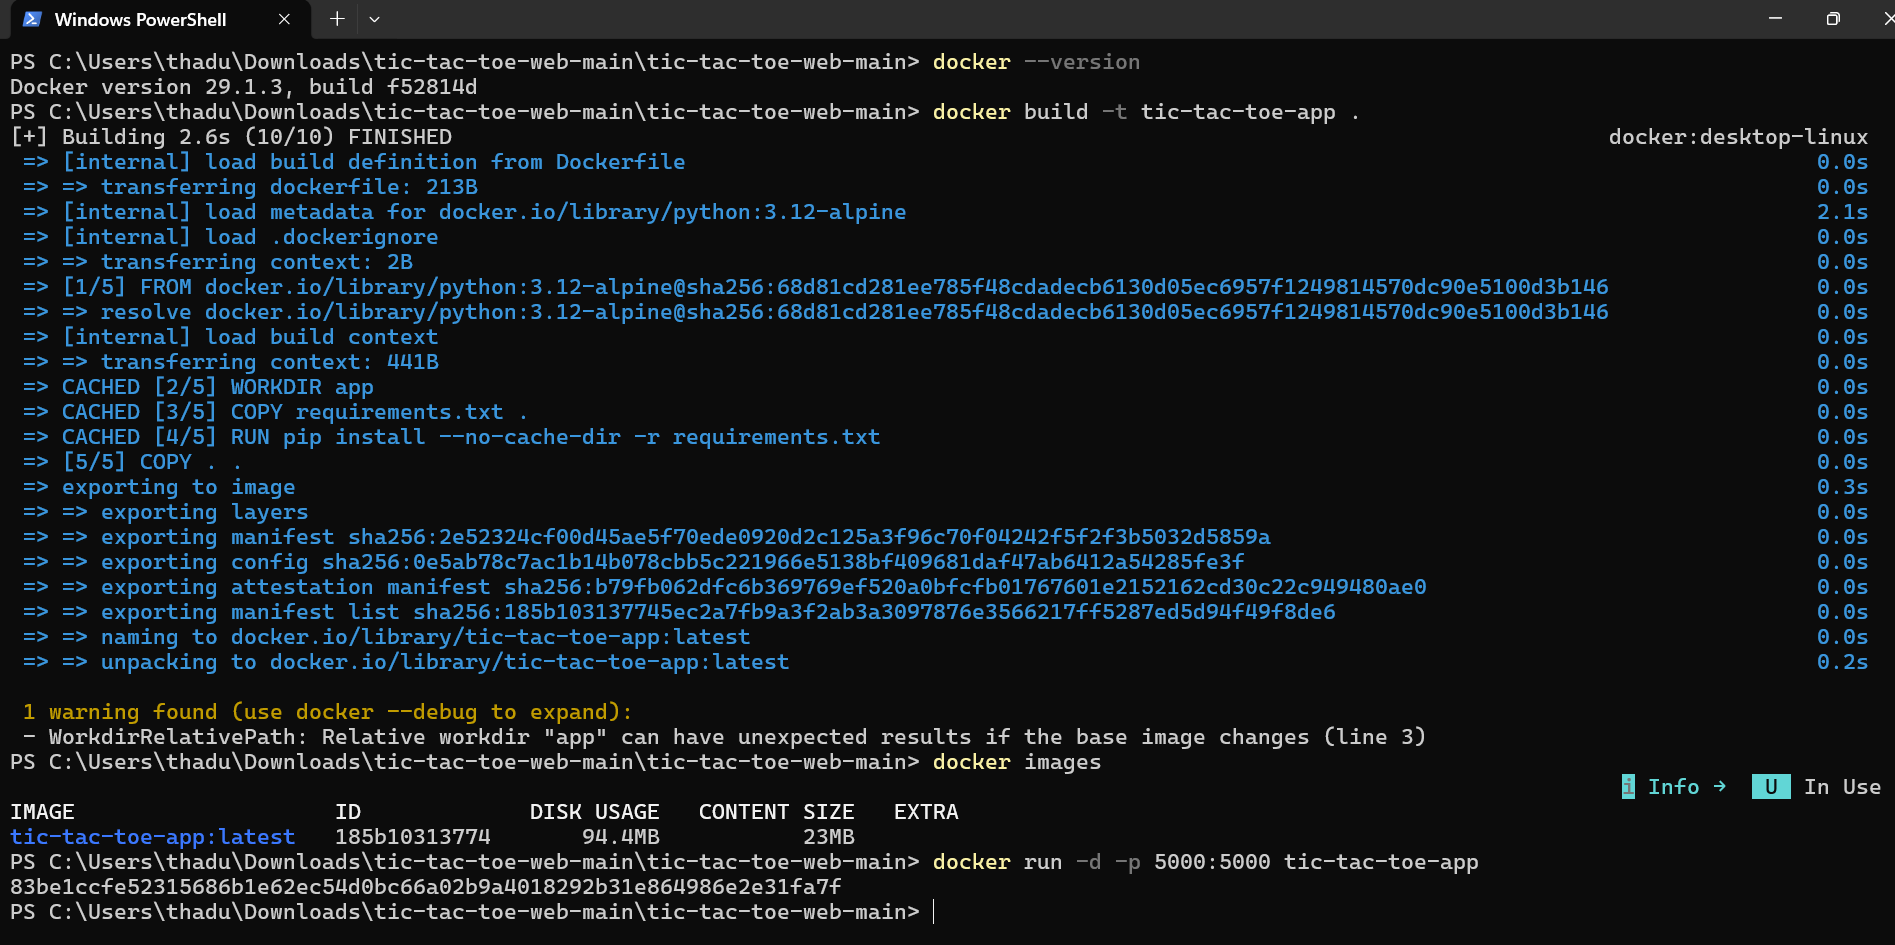
First, verify that Docker is installed correctly:
docker version
Build the Docker image using this command:
docker build -t tic-tac-toe-app .
Explanation:
-tassigns a name (tag) to the imagetic-tac-toe-appis the image name.tells Docker to use the current directory
Check if the image was created successfully:
docker images
Step 5: Run the Docker ContainerRun the application from the Docker image:
docker run -d -p 5000:5000 tic-tac-toe-app
Explanation:
-druns the container in detached mode-p 5000:5000maps port 5000 on your system to port 5000 inside the containertic-tac-toe-appis the image name
Verify that the container is running:
docker ps
Step 6: Test the Application in the Browser
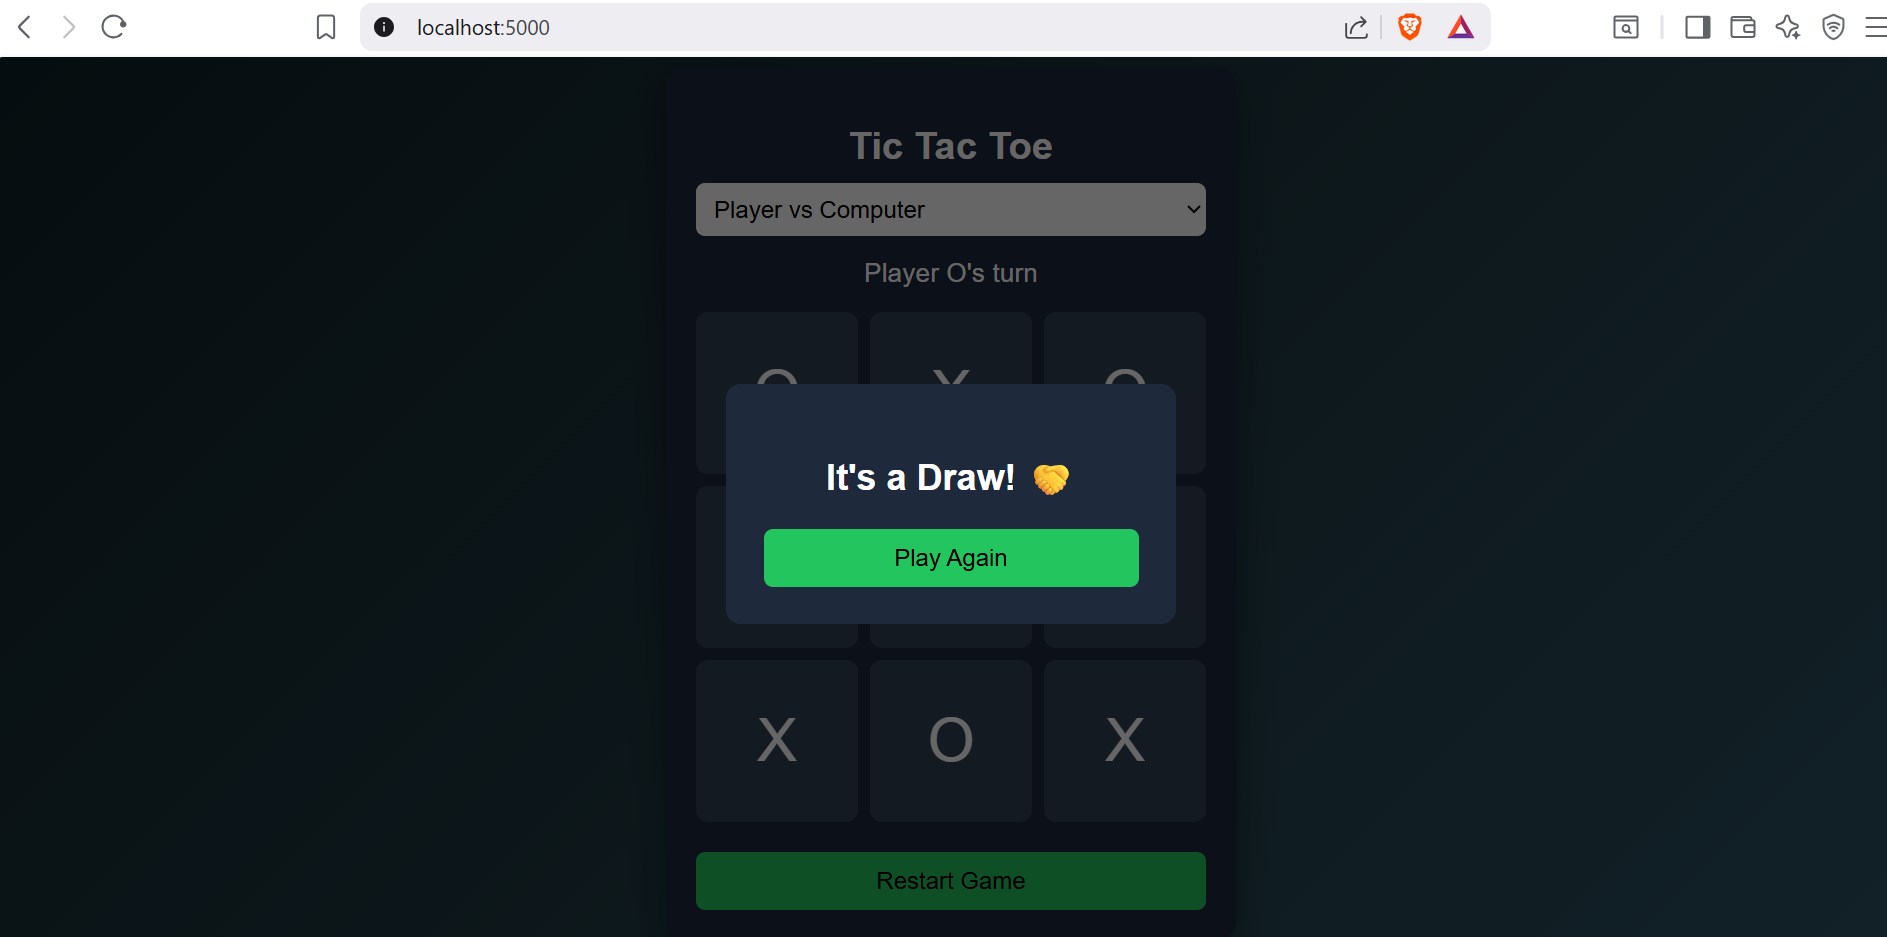
Open your browser and visit:
http://localhost:5000
You should now see your Python web application running inside a Docker container.
Step 7: Push the Docker Image to Docker Hub (Optional)
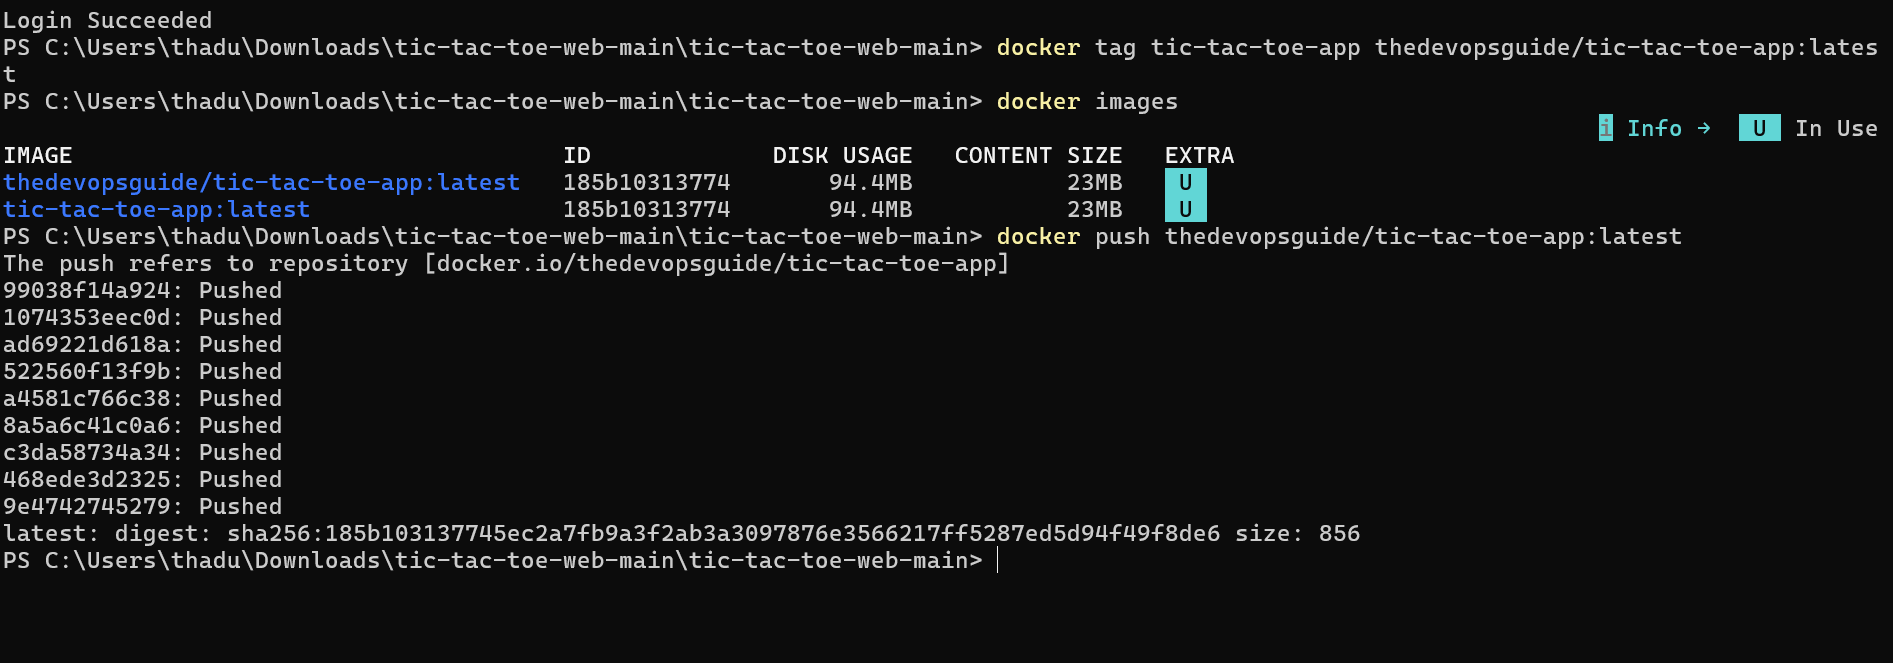
Log in to Docker Hub:
docker login -u <username>
Tag your local image:
docker tag tic-tac-toe-app <username>/tic-tac-toe-app:latest
Push the image to Docker Hub:
docker push <username>/tic-tac-toe-app:latest
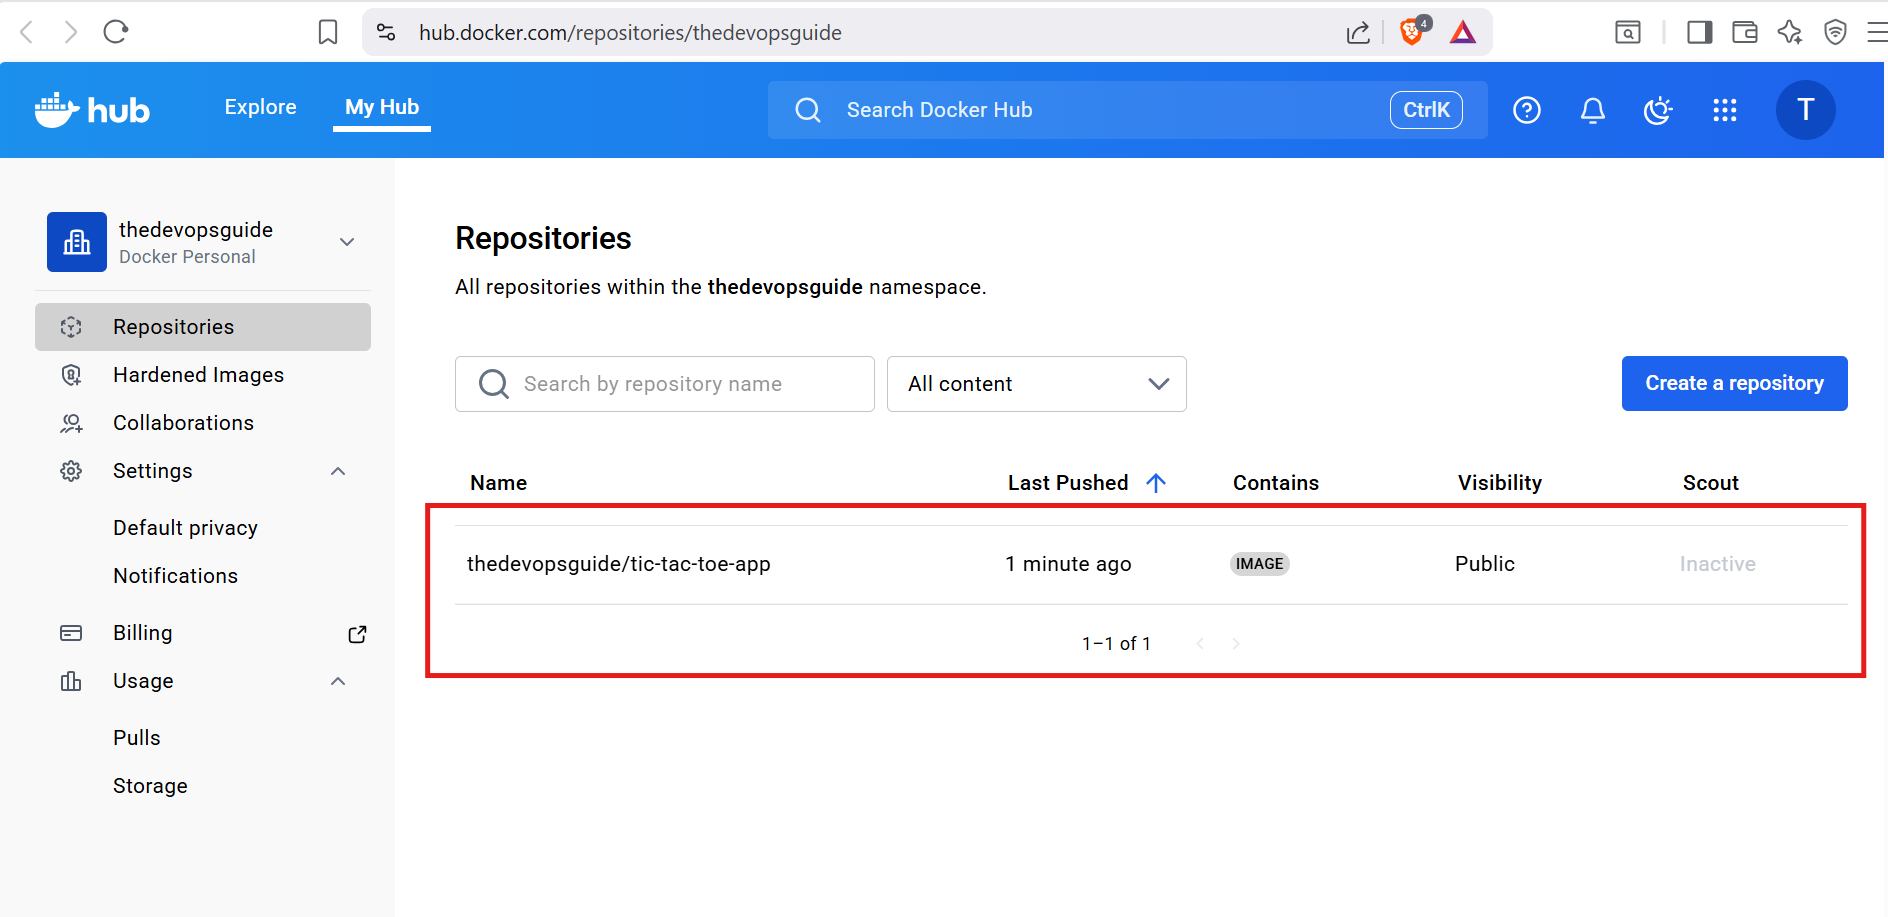
Your Docker image is now publicly available on Docker Hub.
Step 8: Remove All Resources
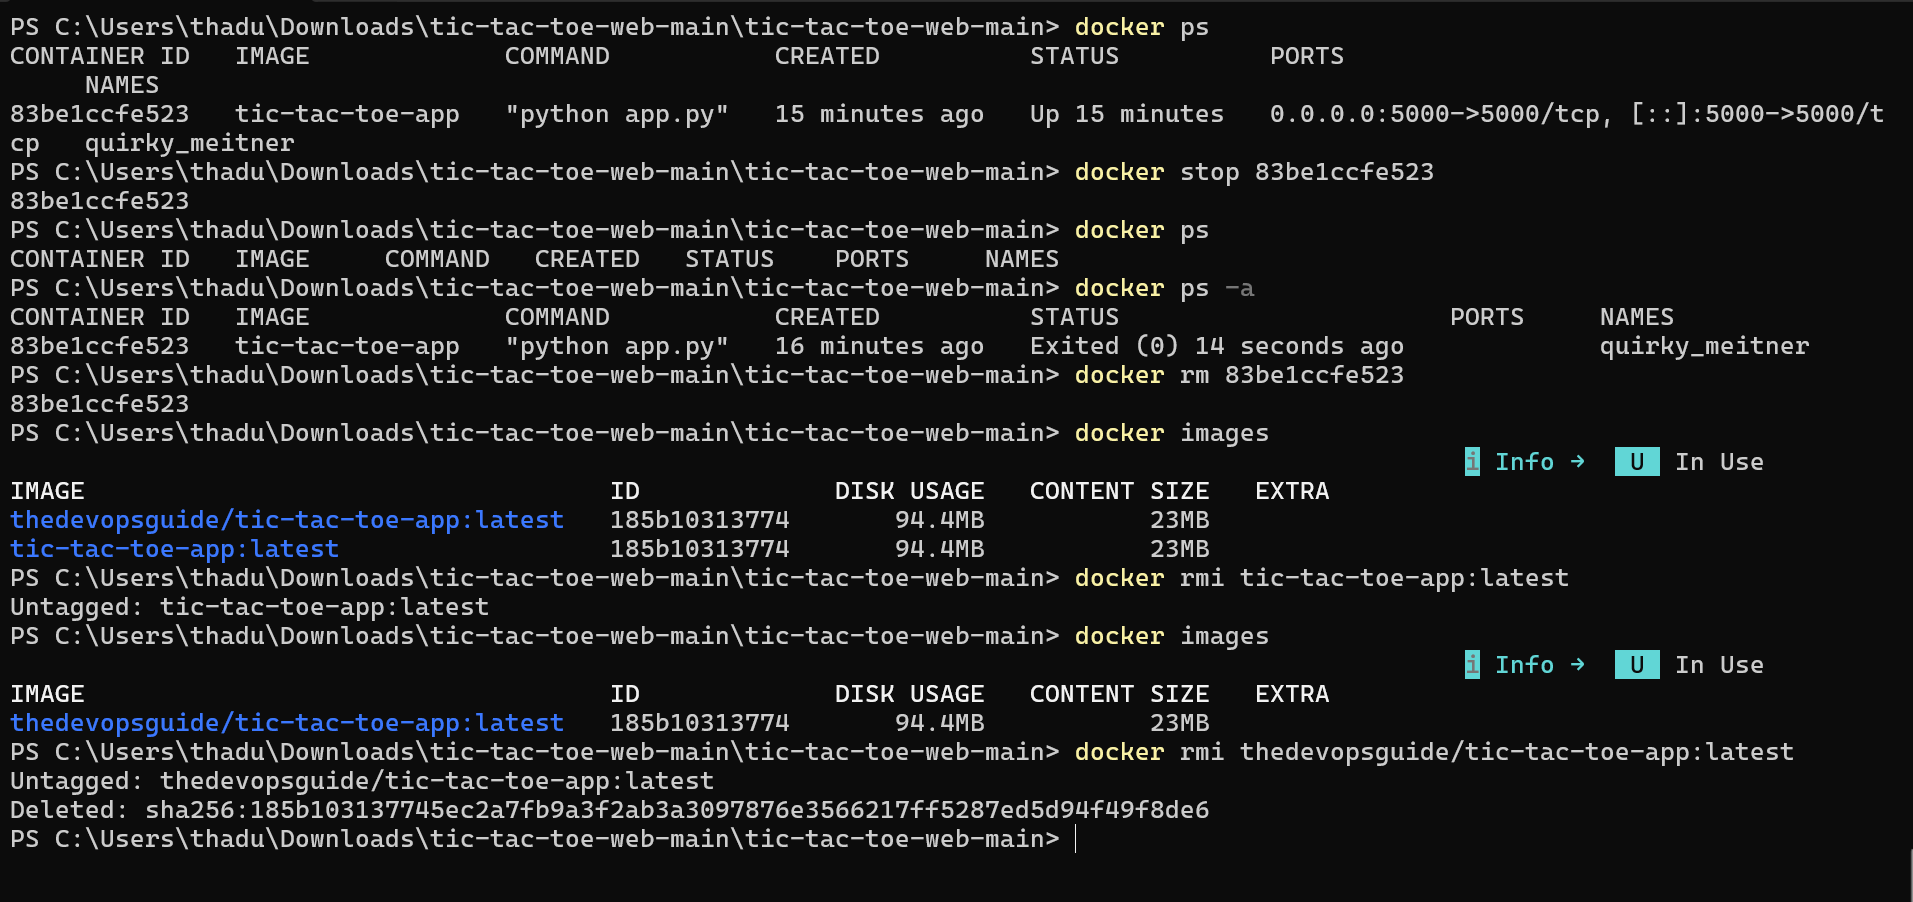
Stop the running container:
docker stop <container_id>
Remove the container:
docker rm <container_id>
Remove the Docker image:
docker rmi tic-tac-toe-app
Conclusion
This Dockerized Python web application is an excellent DevOps project for beginners.
From this project, you learned:
- Containerization basics
- Real-world DevOps workflows
- Docker best practices
- How teams deploy applications in production environments
This hands-on project helps you understand how modern DevOps teams package, ship, and run applications using Docker.
Leave a Reply